This guide, 'The Perfect Harvest: Timing and Techniques for Indoor Cannabis,' provides comprehensive insights into achieving an optimal indoor cannabis harvest. It equips readers with knowledge on the best timing and techniques, emphasizing the importance of understanding the plant's life cycle, the right tools to use, and the proper post-harvest practices to ensure the highest quality of the yield.
Understanding the Cannabis Life Cycle: When is the Right Time to Harvest?
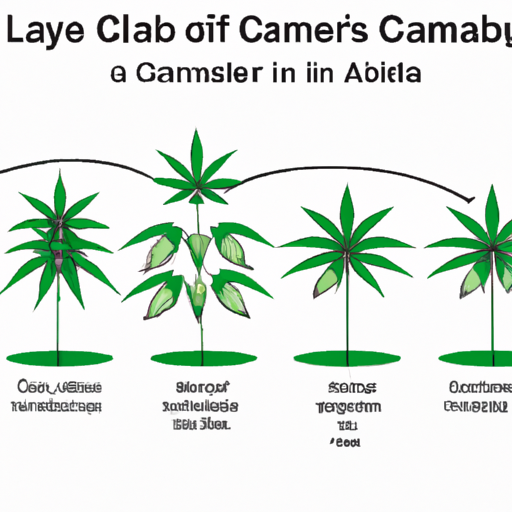
The cannabis plant goes through several stages in its life cycle, and understanding these stages is crucial for determining the right time to harvest. The three main stages are the vegetative stage, the flowering stage, and the harvest stage.
During the vegetative stage, the cannabis plant focuses on growing leaves and stems. This stage typically lasts for 4-6 weeks and is characterized by rapid growth. However, it is important to note that harvesting during this stage will result in a lower level of THC, the psychoactive compound in cannabis, and a less potent final product. Therefore, it is generally recommended to wait until the plant enters the flowering stage.
The flowering stage is when the cannabis plant starts to produce flowers or buds. This stage can last anywhere from 6-12 weeks, depending on the strain and growing conditions. The perfect cannabis harvest is achieved when the buds have reached their peak potency and flavor. To determine this, growers often inspect the trichomes, which are resinous glands that contain the highest concentration of cannabinoids. When the trichomes are milky white or amber in color, it is a sign that the buds are ready for harvest.
Once the ideal time for harvesting has been determined, it is important to consider environmental factors such as humidity and temperature. Harvesting during the early morning or late evening when temperatures are cooler can help preserve the terpene profile and prevent mold or mildew growth. Additionally, it is recommended to give the plants a final flush before harvest, which involves watering them with clean, pH-balanced water to remove any residual nutrients.

A diagram illustrating the different stages in the cannabis life cycle
"A stitch in time saves nine": The Importance of Timing in Cannabis Harvesting
Timing is everything when it comes to harvesting cannabis, and getting it right can make a significant difference in the quality and potency of the final product. Harvesting too early can result in a less potent harvest with lower THC levels, while harvesting too late can lead to an overripe crop with decreased flavor and an overall lower quality.
One of the key factors in determining the perfect cannabis harvest is the level of trichome development. These tiny resinous glands contain the highest concentration of cannabinoids, including THC. Monitoring the trichomes' color and appearance is crucial in determining the optimal time for harvesting. When the trichomes are milky white or amber in color, it indicates that the cannabinoids are at their peak potency.
Another important consideration is the timing of the harvesting process in relation to the plant's natural circadian rhythm. Harvesting during the plant's dark cycle, when it is not actively photosynthesizing, can help preserve the terpene profile and enhance the aroma and flavor of the buds.
Additionally, timing plays a role in the overall yield of the harvest. Waiting too long to harvest can result in the loss of valuable cannabinoids due to degradation and degradation of terpenes. On the other hand, harvesting at the right time ensures maximum cannabinoid content and flavor.
Proper timing also allows for a smoother post-harvest process. Harvesting too early can result in excessive moisture content, leading to difficulties in drying and curing the buds. Conversely, harvesting too late can lead to dry and brittle buds that are challenging to trim and manipulate.
Tools of the Trade: What Do You Need for a Successful Harvest?
To ensure a successful cannabis harvest, it is essential to have the right tools at your disposal. These tools not only make the harvesting process more efficient but also help maintain the quality of the buds. Here are three essential categories of tools you'll need for a successful harvest:
- 1. Cutting and Trimming Tools:
When it comes to cutting and trimming your cannabis plants, having the right tools is crucial. A pair of sharp, clean pruning shears or scissors is essential for cleanly cutting branches and removing unwanted leaves. Look for tools specifically designed for trimming cannabis, as they often have curved blades and ergonomic handles for ease of use. Additionally, having a pair of precision trimming scissors is handy for fine-tuning the final trim of the buds. - 2. Drying and Curing Equipment:
Proper drying and curing are vital steps in the post-harvest process to preserve the flavor, aroma, and potency of the buds. To facilitate this process, you'll need equipment such as drying racks or hanging lines to allow air circulation around the buds. A temperature and humidity monitor is also helpful for ensuring optimal drying conditions. Additionally, investing in airtight glass jars or containers for the curing stage will help maintain the desired moisture content and prevent mold growth. - 3. Protective Gear and Cleaning Supplies:
Harvesting cannabis can be a sticky business, quite literally. To protect yourself from the resinous trichomes, it is advisable to wear gloves to avoid contamination and to keep your hands clean. Disposable gloves made of nitrile or latex are commonly used. Additionally, using a dedicated set of tools for harvesting and cleaning them regularly helps prevent the spread of pests or diseases between plants. A gentle cleaning solution, such as isopropyl alcohol, can be used to effectively remove resin from tools.

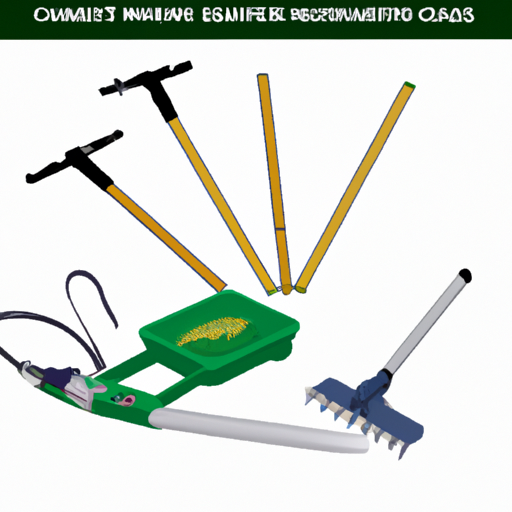
An illustration showcasing essential tools for cannabis harvesting
Trichomes: What role do they play in determining harvest time?
Trichomes, those tiny resinous glands found on the surface of cannabis flowers and leaves, play a crucial role in determining the ideal harvest time. These microscopic structures contain the cannabinoids, terpenes, and other compounds that give cannabis its unique properties. By closely observing the trichomes, growers can assess the maturity and potency of their plants.
To determine harvest time, it is essential to monitor the trichomes' appearance and color. During the early stages of flowering, trichomes may appear clear or translucent. As the plant matures, these trichomes will gradually change color, usually turning milky or cloudy. This stage is often associated with a more balanced cannabinoid profile, offering a combination of THC, CBD, and other compounds.
However, some growers prefer to wait for a further change in trichome color. As the harvest window progresses, trichomes may take on an amber or brownish hue. This indicates that the THC has begun to degrade into CBN, a cannabinoid associated with more sedative effects. Growers seeking a more relaxing and calming experience may choose to harvest when a higher percentage of trichomes have turned amber.
It's important to note that the desired trichome color can vary depending on personal preference and the desired effects. Some may prefer the energetic and uplifting effects associated with clearer trichomes, while others may prefer a more sedating experience with amber trichomes. Therefore, it is crucial to understand the specific characteristics and effects desired from the harvested cannabis.
Harvesting Techniques: How to Cut, Trim, and Dry Your Cannabis Plants?
Harvesting your cannabis plants involves a series of steps to ensure the best quality and potency in your final product. The first step is cutting down the plants at the base of the stem, ideally in the morning when the temperature is cooler. Use sharp and clean pruning shears or scissors to minimize damage to the plant.
Once the plants are cut, it's time to remove the large fan leaves. These leaves contain fewer trichomes and can be discarded. Trim the remaining sugar leaves, which are smaller leaves covered in trichomes, close to the buds. Some growers prefer to leave a small amount of sugar leaves for added potency and aroma in their dried flowers.
After trimming, it's crucial to properly dry your cannabis to prevent mold and mildew. Hang the trimmed branches upside down in a cool, dark, and well-ventilated space. The ideal temperature for drying is around 60-70°F (15-21°C) with humidity levels around 45-55%. Make sure to hang the branches with enough space between them to allow air circulation.
During the drying process, regularly monitor the humidity levels and check for any signs of mold or mildew. This can be done by gently touching the buds and inspecting them for any discoloration or unpleasant smells. If mold is detected, remove the affected buds immediately to prevent it from spreading.
The drying process typically takes about 7-10 days, depending on the humidity levels and the size of the buds. Once the buds are dry to the touch and the stems snap instead of bending, they are ready for the curing process. Curing involves storing the dried buds in airtight containers, such as glass jars, for an extended period, usually around 2-4 weeks. This allows the buds to develop their flavors, aroma, and smoothness.

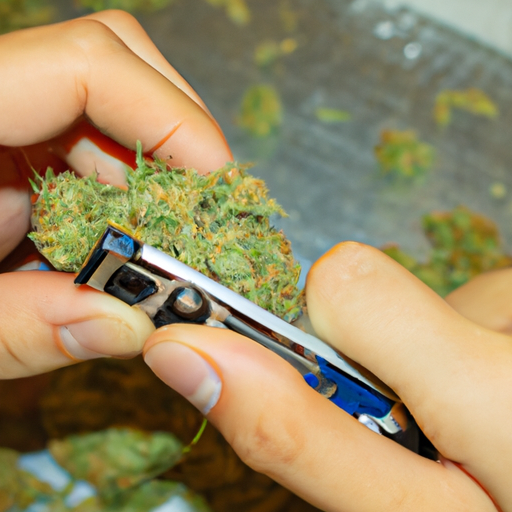
A step by step photo series demonstrating proper cutting, trimming, and drying techniques for cannabis
Post-Harvest Practices: What's Next After Cutting Your Plants?
After cutting your cannabis plants, there are several important post-harvest practices that need to be followed to ensure the best possible outcome for your crop. These practices include trimming, curing, and storing your harvested buds.
- 1. Trimming:
Trimming is the process of removing any excess leaves and stems from the buds. This not only improves the appearance of the buds but also helps to enhance the overall quality. Use clean and sharp scissors or trimmers to carefully remove any unwanted plant material. It's important to be gentle during this process to avoid damaging the trichomes on the buds, as they contain the valuable cannabinoids and terpenes responsible for the plant's effects and aroma. - 2. Curing:
Curing is a crucial step in the post-harvest process that allows the buds to develop their flavors, aromas, and smoothness. After trimming, place the buds in airtight glass jars, filling them about three-quarters full. Store the jars in a cool, dark, and dry place, with a temperature of around 60-70°F (15-21°C) and a humidity level of 55-65%. Open the jars for a few minutes each day to release any built-up moisture and allow fresh air to circulate. This process typically takes 2-4 weeks but can be extended for even better results. - 3.Storage:
Once the buds have undergone the curing process, it is important to store them properly to maintain their quality over a longer period. Store the cured buds in airtight containers, such as glass jars or vacuum-sealed bags, in a cool, dark, and dry place. It's also advisable to add humidity packs to the containers to maintain the ideal moisture level of around 58-62%. Avoid storing the buds in plastic bags, as they can promote the growth of mold and degrade the quality of the buds.
Do Lower Buds Need More Time? Understanding the Dynamics of Bud Maturity
The dynamics of bud maturity can vary within a cannabis plant, particularly between the upper and lower buds. When it comes to harvesting, it's important to understand that lower buds may require additional time to fully mature. This is because lower buds receive less direct light and airflow compared to the top buds. The reduced light intensity and airflow can slow down the maturation process, resulting in lower buds that are not as developed as the top ones.
To determine if lower buds need more time, it is essential to closely examine their trichomes. Trichomes are tiny, crystal-like structures that contain the cannabinoids and terpenes responsible for the plant's effects. Using a magnifying tool, such as a jeweler's loupe or a digital microscope, carefully inspect the trichomes on the lower buds. Look for the trichomes to be mostly milky or cloudy in appearance, with a few amber trichomes indicating peak maturity.
Additionally, pay attention to the pistils, the small hair-like structures that emerge from the buds. As the plant matures, the pistils change color from white to a reddish-brown or orange hue. If the majority of the pistils on the lower buds have not changed color yet, it may indicate that they need more time to fully develop and ripen.
Keep in mind that cannabis plants can have different phenotypes and genetics, which may influence the maturation rates of the buds. It's important to monitor each plant individually and make decisions based on its specific characteristics.

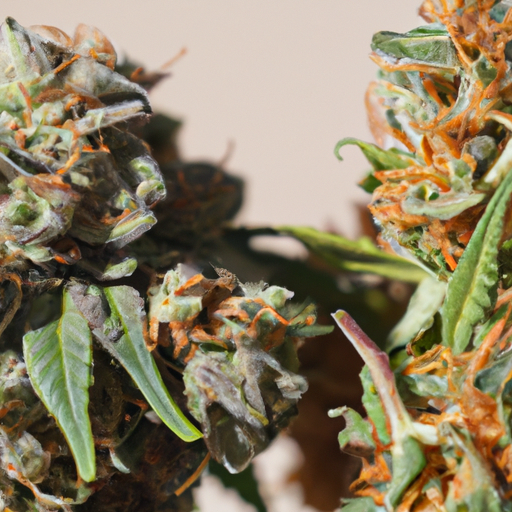
A close-up photo showing the difference between mature and immature cannabis buds
Indoor Cannabis Harvest Guide:
| Harvest Timing | Tools | Life Cycle | Post-Harvest Practices |
|---|---|---|---|
| At peak maturity | Scissors, tweezers, drying racks | Vegetative, flowering | Trimming, curing |
| When trichomes become cloudy | Magnifying glass, gloves, containers | Germination, seedling, clone | Drying, storage |
| When pistils have receded | Clippers, buckets, humidity gauge | Vegetative, flowering, harvesting | Cleaning, trimming |
| When trichomes become amber | Sharp knives, trimming scissors, plant food | Seedling, clone, vegetative | Aeration, curing |
Mastering the art of the perfect cannabis harvest requires patience, knowledge, and a keen eye for detail. By following the insights and techniques outlined in this guide, cultivators can maximize the potential of their indoor cannabis crops, ensuring the production of potent, high-quality yields year-round.


