


This professional guide outlines the crucial process of curing cannabis, a step often overlooked but pivotal to enhancing flavor and potency. The guide provides an in-depth understanding of the process, its impact on the final product, and practical tips to execute it effectively. Using keyword focus on 'curing cannabis' and 'enhancing cannabis flavor and potency', this guide aims to educate both novices and seasoned growers.
Why is Curing Cannabis so Important?
Curing cannabis is a crucial step in the cultivation process that should not be overlooked. It plays a vital role in enhancing the flavor and potency of the final product. When cannabis is harvested, it contains excess moisture and chlorophyll, which can negatively impact the taste and quality. Curing allows for the gradual removal of moisture and the breakdown of chlorophyll, resulting in a smoother and more enjoyable smoking or vaping experience.
During the curing process, the cannabis buds undergo a series of chemical changes that can significantly improve their aroma, taste, and potency. Enzymes present in the plant break down the remaining sugars and starches, creating a smoother and more flavorful smoke. Additionally, the breakdown of chlorophyll helps eliminate any grassy or hay-like taste, giving the cannabis a more desirable flavor profile.
Proper curing also allows for the development of cannabinoids, such as THC and CBD, which are responsible for the psychoactive and medicinal effects of cannabis. These compounds need time to fully mature and reach their maximum potency. Curing provides the ideal conditions for these cannabinoids to develop, resulting in a more potent and effective product.
Furthermore, curing cannabis helps to eliminate any potential pathogens or bacteria that may be present in the buds. The controlled drying and curing process creates an environment that discourages the growth of harmful microorganisms, ensuring a safer product for consumption.
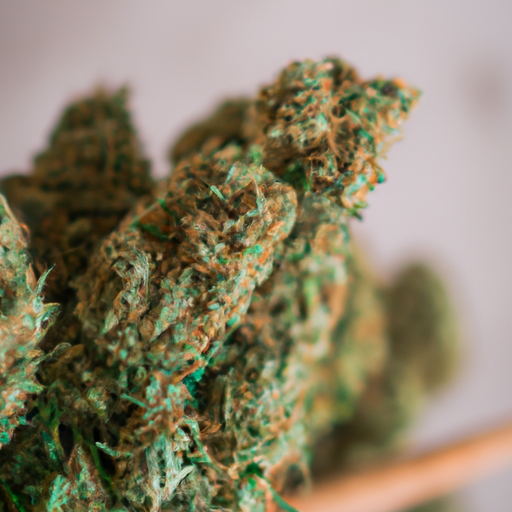
A photo of fresh cannabis buds before the curing process.
Understanding the Science Behind Curing Cannabis: Is it Really Necessary?
Curing cannabis may seem like an extra step in the cultivation process, but understanding the science behind it reveals its importance. The process of curing involves controlled drying and aging of the harvested cannabis buds. During this time, several chemical reactions take place that contribute to the overall quality of the final product.
One of the main reasons why curing is necessary is to remove excess moisture from the buds. When cannabis is initially harvested, it typically contains a high percentage of water. If dried too quickly, the moisture can cause mold and mildew to develop, leading to a lower-quality product. Curing allows for a slow and gradual drying process, ensuring that the moisture content is reduced to an optimal level.
Additionally, curing helps to break down chlorophyll, the pigment responsible for the green color in plants. Chlorophyll has a grassy and plant-like taste, which can give cannabis an undesirable flavor. Through the curing process, the chlorophyll breaks down, resulting in a smoother and more enjoyable smoking experience.
Another important aspect of curing is the development and transformation of cannabinoids and terpenes. Cannabinoids, such as THC and CBD, are responsible for the psychoactive and medicinal effects of cannabis. Terpenes, on the other hand, are aromatic compounds that contribute to the unique flavors and smells of different strains. Curing allows for the gradual maturation and enhancement of these compounds, resulting in a more potent and flavorful final product.
"Curing Cannabis: A Delicate Art more than a Science"
Curing cannabis is often referred to as a delicate art rather than a strict science. While there are general guidelines to follow, the process requires a certain level of intuition and experience. Each strain of cannabis has its own unique characteristics and curing requirements, making it essential for cultivators to fine-tune their techniques based on observation and feedback.
The art of curing involves finding the perfect balance between drying the buds and preserving their natural flavors and potency. It requires careful monitoring of temperature, humidity, and airflow to achieve optimal results. This delicate balance can vary depending on factors such as the strain, climate, and even the individual preferences of the cultivator.
Furthermore, the timing of the curing process is crucial. Curing too quickly can result in a loss of flavor and potency, while curing too slowly can lead to mold and mildew growth. It requires patience and attention to detail to determine the ideal duration for each batch of cannabis.
Moreover, the art of curing also involves the skill of fine-tuning the environment in which the cannabis is stored during the process. Factors such as the type of containers used, the presence of light, and the overall cleanliness of the curing space can all impact the final product. Cultivators must pay close attention to these details to ensure the best possible outcome.
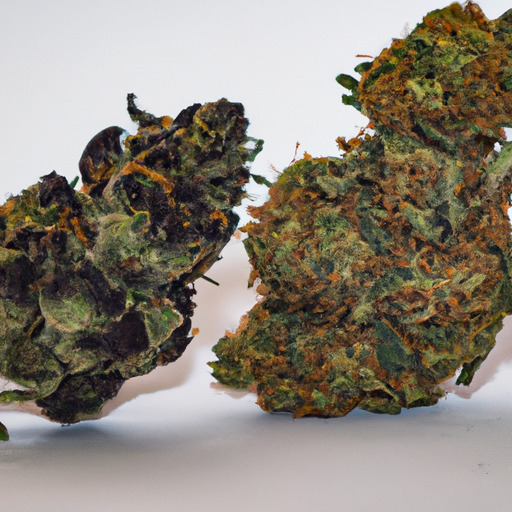
An image of a well-cured cannabis bud contrasting with a poorly cured one.
Step-by-Step Guide to Curing Cannabis: Are You Doing it Right?
To ensure you are effectively curing your cannabis, follow this step-by-step guide.
- 1. Harvesting:
Begin by harvesting your cannabis plants at the optimal time. Look for trichomes that have turned milky white or amber in color, indicating peak potency. Cut the branches at the base of the plant and remove any excess leaves. - 2. Drying:
Hang the branches upside down in a well-ventilated space with controlled humidity and temperature. Keep the temperature between 60-70 degrees Fahrenheit and the humidity around 50%. This slow drying process allows the moisture within the buds to evaporate gradually, preventing mold growth while preserving flavors and potency. - 3. Trimming:
Once the branches have dried for about a week, it's time to trim the buds. Use sharp trimming scissors to remove any remaining leaves and excess stems. This step helps improve the appearance and quality of the final product. - 4. Curing:
Place the trimmed buds in airtight glass jars, filling them about three-quarters full. Seal the jars and store them in a cool, dark place with a humidity level between 58-62%. During the first few days of curing, open the jars once or twice a day for about 10 minutes to allow excess moisture to escape. After the initial days, open the jars for a few minutes every few days to ensure proper airflow. - 5. Monitoring:
Throughout the curing process, monitor the buds for any signs of mold or mildew. If you notice any, remove the affected buds immediately to prevent further contamination. Additionally, check the humidity levels regularly to ensure they remain within the desired range. - 6. Burping:
Burping is the process of opening the jars to release built-up gases and replenish oxygen. This step is crucial for preventing the growth of harmful bacteria and preserving the flavors. Burp the jars for a few minutes each time, gradually reducing the frequency over several weeks.
Avoiding Common Mistakes During the Curing Process: Could You Be Sabotaging Your Own Harvest?
During the curing process, it is important to avoid common mistakes that can sabotage the quality of your cannabis harvest. One common mistake is rushing the drying process. It can be tempting to speed up drying by increasing temperature or airflow, but this can lead to uneven drying and loss of flavor and potency. It is crucial to be patient and allow the buds to dry slowly over the recommended time.
Another mistake to avoid is improper storage conditions. If the curing jars are not sealed properly or if the humidity levels are too high, it can create an environment for mold and mildew to develop. This can ruin the entire batch of cannabis. Regularly check the jars for any signs of moisture or mold and adjust the humidity levels as needed.
Additionally, some growers make the mistake of not properly trimming the buds before curing. Leaving excess leaves and stems on the buds can result in an unpleasant taste and harsh smoke. Take the time to carefully trim the buds, removing any unwanted plant material.
It is also important to avoid handling the buds too much during the curing process. Excessive touching can lead to the loss of trichomes, which contain the valuable cannabinoids and terpenes responsible for the flavor and potency. Handle the buds gently and minimally to preserve their quality.

Illustration of common mistakes made during the curing process.
How to Enhance Flavor and Potency during Curing: Any Secret Tricks?
Enhancing the flavor and potency of cannabis during the curing process can be achieved through a few secret tricks. One key method is to introduce humidity packs or moisture control packs into the curing jars. These packs help to regulate the humidity levels inside the jars, ensuring that the buds stay at an optimal moisture level. This can result in a smoother smoke and a more intense flavor.
Another trick is to use glass jars for curing instead of plastic containers. Glass jars provide a better environment for the buds to cure, as they allow for proper airflow while maintaining a stable temperature. Plastic containers can sometimes create a static environment that can negatively impact the flavor and potency of the cannabis.
Temperature control is also crucial in enhancing flavor and potency. It is recommended to keep the curing jars in a cool, dark place with a consistent temperature. Fluctuations in temperature can affect the chemical composition of the buds and diminish their quality. Aim for a temperature range of around 60-70 degrees Fahrenheit (15-21 degrees Celsius) for optimal results.
Additionally, some growers swear by the "burping" technique during the curing process. This involves opening the jars for a few minutes each day to release any built-up moisture and gases. Burping allows for fresh air to circulate in the jars, preventing the risk of mold and mildew while enhancing the overall flavor and potency.
Maintaining Quality During Storage: How to Keep Your Cured Cannabis Fresh?
Proper storage is essential for maintaining the quality and freshness of your cured cannabis. After the curing process is complete, it is important to store your cannabis in a cool, dark, and dry place. This helps to preserve its flavor, potency, and overall quality.
One of the most common mistakes people make is storing cannabis in clear containers or jars that expose it to light. Light can degrade the cannabinoids and terpenes in the buds, leading to a loss of potency and flavor. Instead, opt for opaque or dark-colored containers that block out light and protect the integrity of your cannabis.
Humidity control is another crucial factor in preserving the freshness of your cured cannabis. Excessive moisture can lead to the growth of mold and mildew, while low humidity levels can cause the buds to become dry and brittle. To maintain the ideal humidity, consider using humidity packs or moisture control packs specifically designed for storing cannabis. These packs help to regulate the moisture levels and prevent any moisture-related issues.
Airtight containers are also recommended for storing cured cannabis. This prevents the exposure of the buds to oxygen, which can lead to the degradation of cannabinoids and terpenes. Vacuum-sealed containers or jars with tight-fitting lids are excellent options for keeping your cannabis fresh for a longer period.
Finally, it is crucial to avoid temperature fluctuations during storage. Extreme heat or cold can negatively impact the quality of your cannabis. Aim for a consistent temperature range of around 60-70 degrees Fahrenheit (15-21 degrees Celsius). Avoid storing your cannabis near appliances that generate heat or in areas prone to temperature fluctuations, such as near windows or vents.
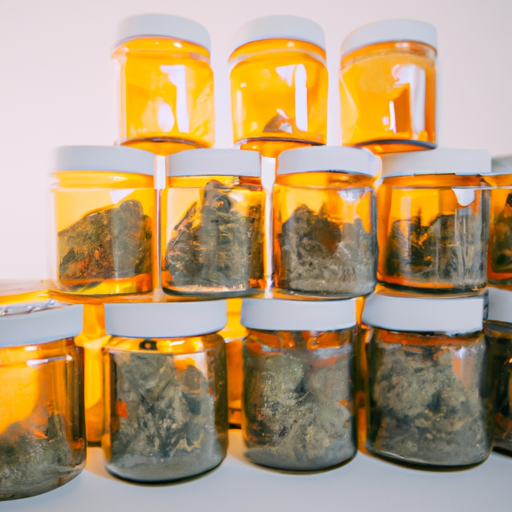
A photo of properly stored, cured cannabis in airtight containers.
Steps to Curing Cannabis:
| Step | Purpose | Length of Time | Result |
|---|---|---|---|
| Hang Cannabis | Allow water to evaporate | 2-3 weeks | Improves flavor and potency |
| Cure in Mason Jars | Maintain humidity and temperature | 2-3 weeks | Improves flavor and potency |
| Open Jars Daily | Releases moisture | 5-10 minutes | Improves overall quality |
| Store in Dark Place | Protect from direct light | Indefinitely | Preserves flavor and potency |
Curing cannabis is not just an optional step in the cultivation process; it is a critical phase that can dramatically enhance the flavor and potency of the end product. By following the carefully outlined steps in this guide, cultivators can ensure they are maximizing the potential of their cannabis plants. Remember, patience and precision are the keys to a perfectly cured bud.